Guía de Supervivencia - Tu primer día
Esta guía es una colaboración entre muchos individuos y puede tener problemas. Una maravillosa miembro de la comunidad, copygirl, quien ha contribuido al código de Vintage Story, ha compilado una mas concisa y potencialmente mas fácil de usar guía de supervivencia en su propia pagina (sitio en Inglés). Como con la wiki, no hay garantía de la exactitud del contenido y es correcto al mejor conocimiento del autor.
Personaje
| W A S D | Para moverse |
| Space | Saltar |
| E | Inventario de Mochila (Acceder a la Cuadricula de Fabricacion) |
| C | Inventario de Personaje (Ropa y Equipo) |
| Shift | Agacharse (usado para colocar objetos activos sobre bloques) |
| Ctrl + W | Correr |
| G | Sentarse |
| Q | Soltar objeto en mano |
| F5 | Recorrer modos de camara (primera persona, tercera persona, camara superior) |
Interfaz de Usuario
| tab | Mostrar/Ocultar cuadro de chat |
| T | Comienza a escribir en el cuadro de chat |
| F4 | Mostrar/Ocultar interfaces de usuario |
| F6 | Ocultar/Ocultar minimapa de usuario |
| B | Mostrar/Ocultar informacion de bloque |
| H | Manual de Supervivencia (La mayoria de los objetos en el juego) |
| M | Mostrar/Ocultar mapamundi |
| N | Mostrar/Ocultar ayuda de interacción con bloque |
| V | Mostrar/Ocultar coordenadas |
| F12 | Tomar una captura de pantalla |
| esc | Salir/cerrar cualquier interfaz |
Tu primer día
Aparición del Jugador
Players appear in the world at the "spawn location". If a player dies in the game, the player will reappear (respawn) at the initial spawn location until the player spawn point is reset. (A way to reset player's spawn location can be found later in the game.) It's a good idea to set a marker for this spawn point when a player first appears in the world. Either right mouse click on the world map or through the command /waypoint add [waypointcolor] [title]. This command adds a waypoint with given color (any .NET Color or a Hex Code) and text.
Stone tools
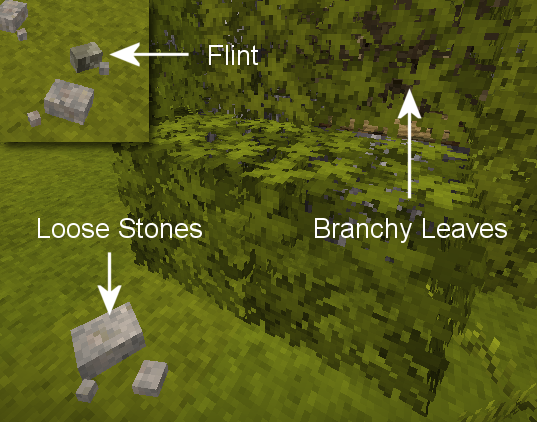
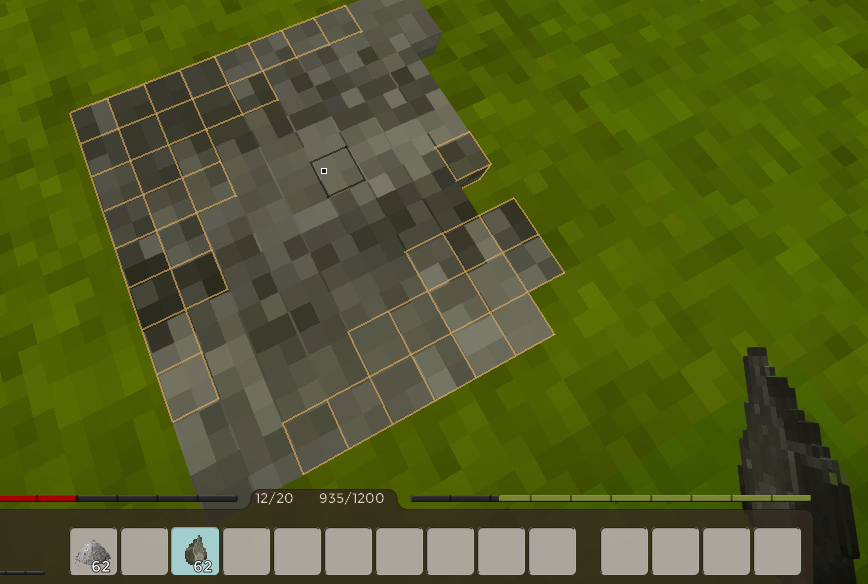
Find flint or loose stones (basalt, granite, andesite, obsidian or peridotite). Sneak + Right click on solid ground to create a knapping surface. Choose the tool to create from the menu. We recommend an Axe and a Knife. Using a stone in the active hand, left click on the orange boxes to remove them from the stone and shape the finished blade or tool head. When the last orange box is removed, the completed tool head will transfer to the player's hotbar. Press E to open the inventory GUI and access the crafting grid. In the grid, combine the stone tool blade with a stick (handle) to create the finished tool. Sticks can be collected from the ground or by breaking leafy branches using left click.
Player Inventory
Players have 3 types of slots
- The left hand slot can hold passive items such as torches
- 10 hand slots
- 4 container slots that allow players to expand inventory.
To begin expanding player inventory, crafting hand baskets is the first option. Harvest reeds, which can usually be found near lakes. Press H and search for basket to see the grid crafting recipe.
Food
Here are some of the first day options for food:
- Mushrooms can be harvested with a knife or empty hands. Harvesting the tops with a knife will allow the mushrooms to regrow over time.
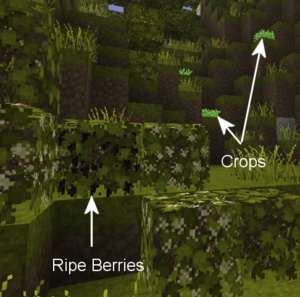
- Ripe Berry Bushes can be harvested without tools, and then broken and replanted anywhere else. After a while they will start to bloom again.
- Cattail roots can be harvested using a knife and cooked over a fire as a source of early game forage.
- Most animals can be killed and harvested with a knife for nutritious meat and fat. Hold
Sneak + Hold Right mouse buttonwith a knife in hand to harvest animals. Meat must be cooked in a fire pit.
Clay
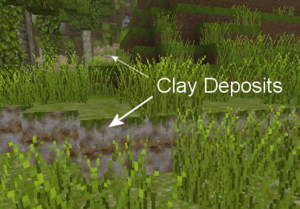
Clay is a required resource to progress through the ages, and in early game it can be used to build comparatively cheap stationary storage options and your first means to preserve food for a bit longer. It is also required to craft a cooking pot, which is necessary for advances cooking.
Light / Cooking
Once the sun sets, a player might want to create a firepit as a source of light and for cooking. Be aware though, rain will extinguish any uncovered fires or torches, so be sure to build a simple roof over any firepits.
Gather the following resources:
- Dry grass:
left clickwith a knife in hand to gather tall grass - Firewood:
left clickwith an axe in hand to cut trees and harvest logs. Place the axe and logs in the crafting grid to create firewood.
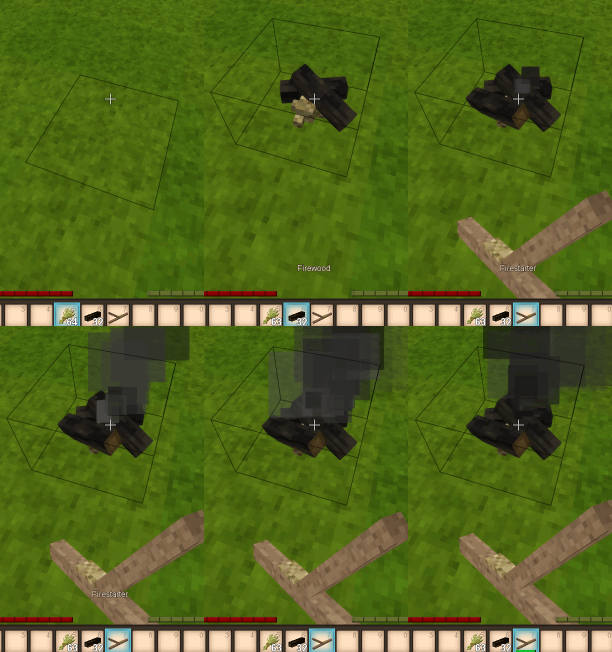
Hold Sneak + Right click on solid ground with the dry grass in hand to place a fire pit. Next, Sneak + Right click with 4 firewood in hand to complete the fire pit. Then, light the fire using a firestarter (or a torch), hold Right click with either item in hand and aim at the base of the firepit. (Optionally check the handbook, opened with H, to find out how to make a firestarter.)
Congratulations, meat can be cooked and new torches created by heating sticks! Be careful though, a torch in your off hand will cause you to take an increased hunger penalty, and torches held while taking a dip in water will get extinguished.
Combat
To defend against hostile creatures, craft stone age weapons by knapping or carving a club from a log. Different weapons have different ranges. Spears are the strongest long range weapon in the stone age, but break quickly. Create a stone spearhead by knapping, and combine with a stick (shaft) in the crafting grid to finish the spear. Wooden clubs are durable but have less damage and less range. Knives, axes, or just plain sticks can all be used as weapons, but these have shorter ranges than the spear. In an emergency, small stones can be thrown at mobs. For more information, see the main article on Combat
Improvised armor can be crafted from dry grass and firewood for some very basic protection. It will not protect your head or legs, but is better than nothing. Once more established in the world of Vintage Story, more advanced types of armor can be crafted.
Shelter
Once the sun sets, a player might also like a shelter. There are different blocks that you can use to make a shelter using the early resources you have available. Dry grass can be used to make a bed early on, or form hay blocks/cob for early building blocks. Soil is also a good building material, and can be used to form Mud Bricks.
Stationary Storage
For more storage, the player can craft two early game containers.
- The basket has 8 slots for items, however it requires 24 cattails and should not be used to store food if possible.
- The clay storage vessel has 12 slots, requires clay to craft and has the best spoilage rates in the game, which makes it suitable for food storage.
Temperature
The player's body temperature needs to be kept around 37°C. Prolonged times with body temperature under this mark will result in freezing animations and even damage taken. Beware that dipping in water or being out in the rain will make your temperature drop faster. Standing near a lit campfire can warm the player up and the body temperature will stay up a while even after stepping away.
Temporal Stability
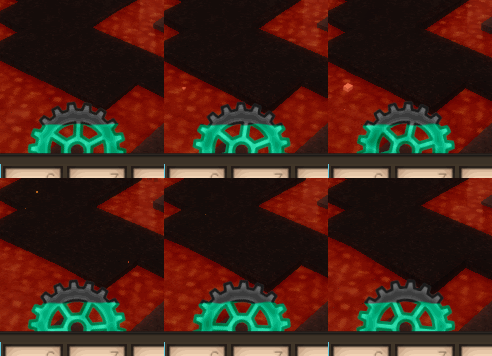
By now a player might be wondering about the cyan gear between the health and satiety bar. This is the temporal stability meter, the level of color in the gear indicates the player's current temporal stability. As a player's temporal stability reduces, the gear turns counter clockwise and the blue color in the gear decreases. When increasing, the gear's color returns as it turns clockwise. If temporal stability reaches zero, the player's vision will change drastically, and bad things tend to happen.
Draining temporal stability:
- Some surface areas are temporally unstable
- Caves, underground caverns, and places below surface level are generally more unstable than the surface of the world
- Temporal storms (occur at regular intervals)
Recovering temporal stability:
- Move to a location of high stability on the surface or at higher elevations in the world
- Transfer the temporal stability from a temporal gear: hold the gear in the left hand, a knife in the right hand, and hold
right mouse buttonto provide a 30% boost - Killing drifters recovers small amounts of your own temporal stability
Advanced Game Mechanics
Once the basics are mastered, players can develop advanced technology: Survival Guide - Advanced tech
Tutorial Video: First Day
Thanks to Ashantin for creating and sharing with the VS community.
| {{{title}}} | |
|---|---|
