Руководство по VS Model Creator
У Vintage Story есть собственный редактор моделей VS Model Creator, который позволяет любому создавать, текстурировать и анимировать пользовательские модели для использования в модах Vintage Story. Новейшую версию можно скачать здесь.
Ниже вы можете найти модифицированные версии учебника по моделированию и учебника по анимации, созданные Balduranne и Luke соответственно. Нажмите здесь, если вы хотите посетить исходную ветку, в которой изначально были размещены эти руководства.
Моделирование
Основы моделирования
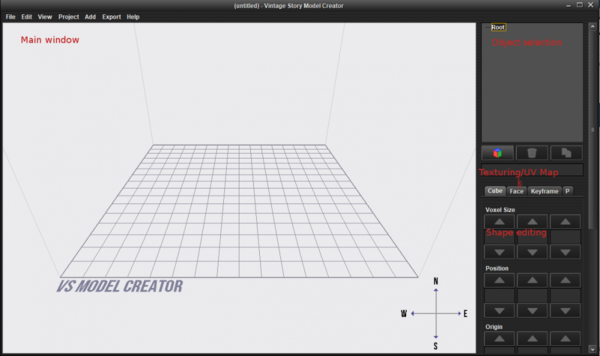
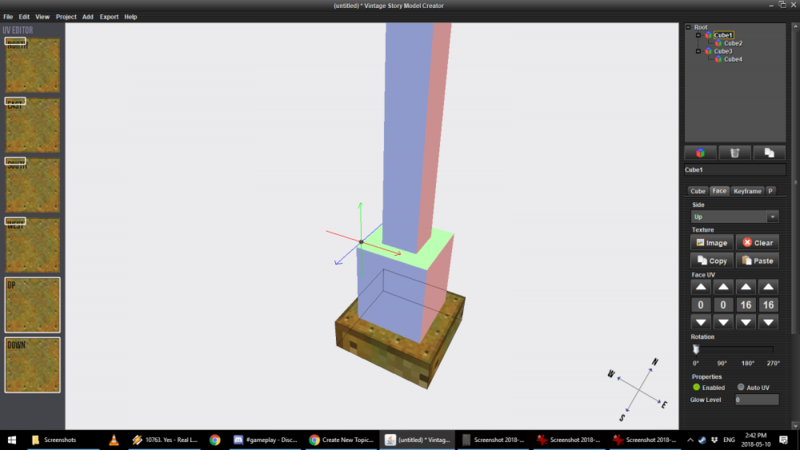
Создатель модели позволяет работать только с кубами или частями кубов, которые вы можете создать, щелкнув на красный/зеленый/синий значок под окном выбора. После того, как вы что-то выбрали, вы можете перейти к собственно моделированию — размер вокселя определяет форму и размер объекта, положение перемещает его по сетке, а начало — это то место, откуда модель должна «начинаться». Это в основном при вращении объекта.
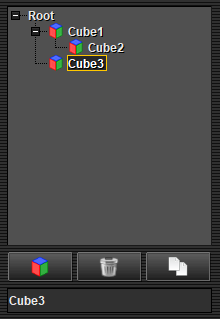
При добавлении дополнительных кубов важно помнить о том, что вы выбрали. В этом случае Cube2 пристыкован к Cube1, поэтому, если мы переместим последний - Cube2 переместится вместе с ним. Cube 3 в этом примере находится сам по себе и не зависит от двух других.
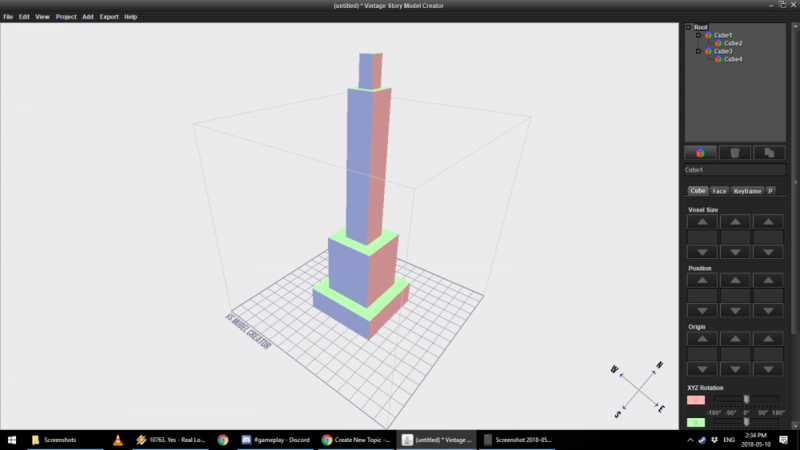
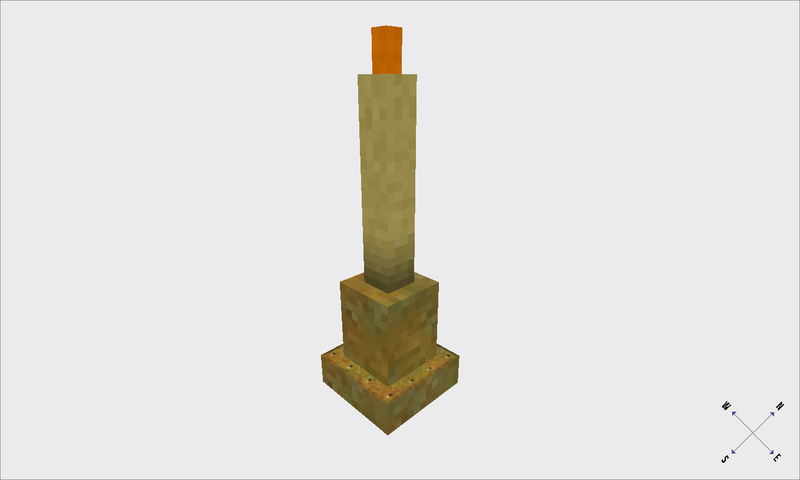
Немного повозившись, мы получили нашу модель. В данном случае это подсвечник со свечой:
Model Duplication
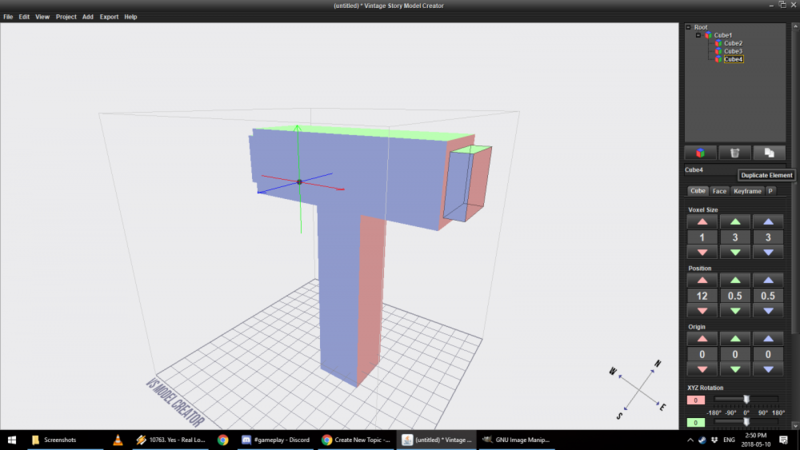
Very often you'll want to duplicate an element and move it around to speed up the modelling process. It's less time consuming than making a fresh object and moving it in the correct place and shape:
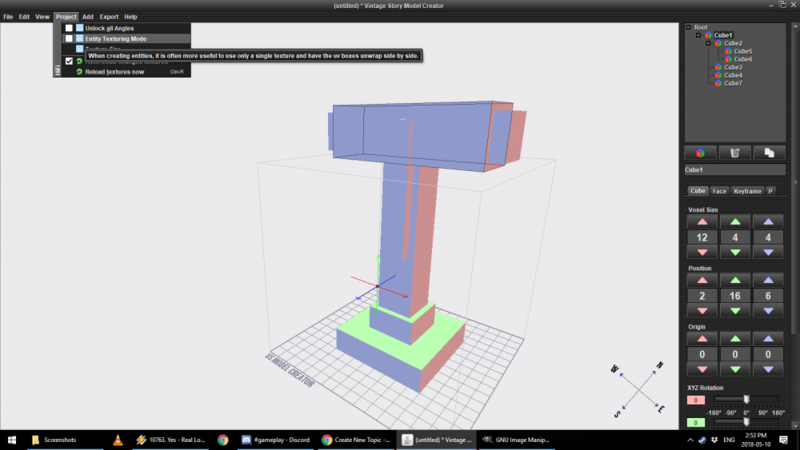
I'm sure very often you'll find yourself just applying the same texture to the entire object. This is where the Entity Texturing Mode comes into play:
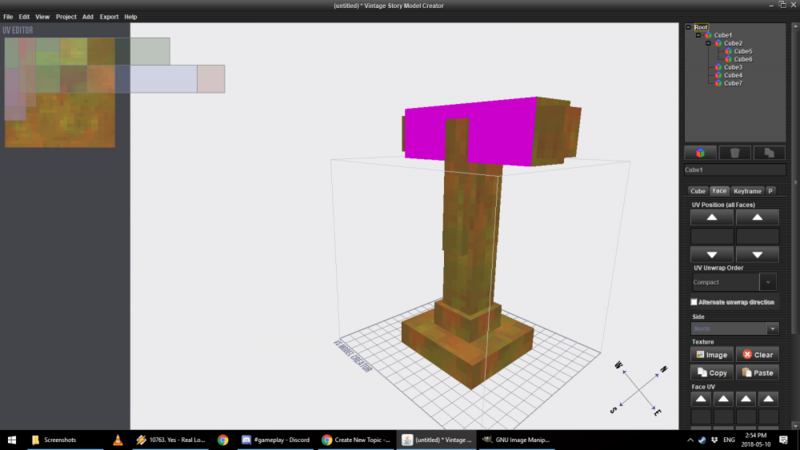
Once clicked, the entire model will be assigned one texture. It's handy, but we still need to tweak it by hand. While the mode is on, you can only move an entire object around in the UV map editor (Left), that's hardly ideal in some cases. That's why we want to disable the Entity Texturing Mode (Don't worry, the texture will stay on), and go back to the Face menu and manually move the texture around.
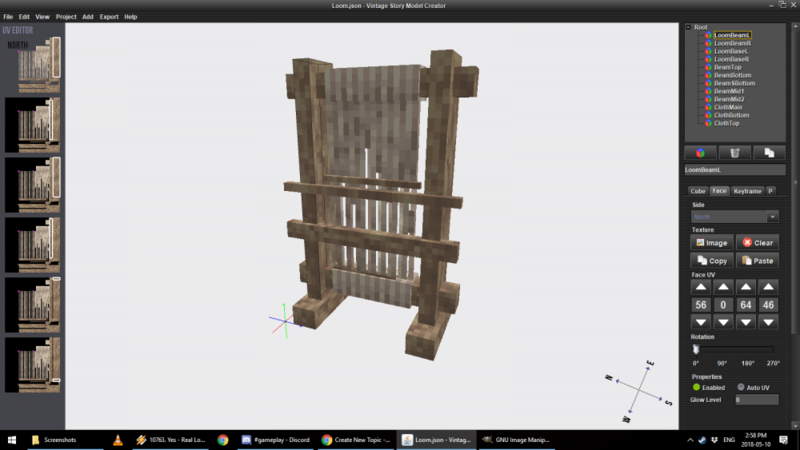
This is especially important in cases where we want to use a single texture for a model, as is the case with my Loom model, or the NPC models (Including the player one):
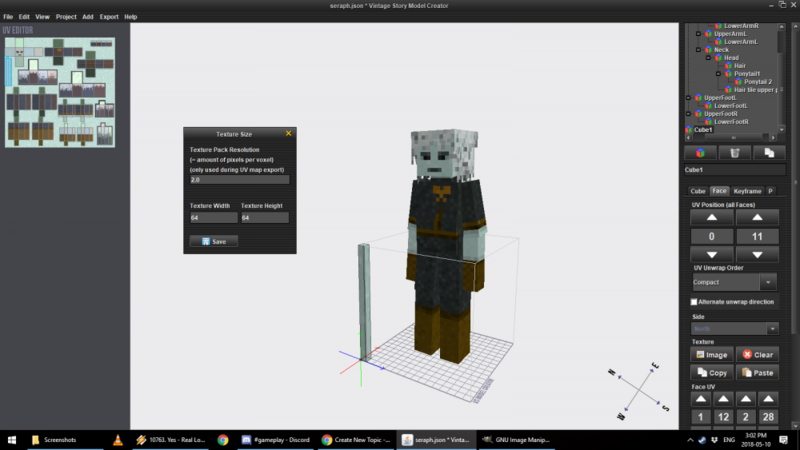
Furthermore, if you're using one texture, you can tweak the texture size for larger objects:
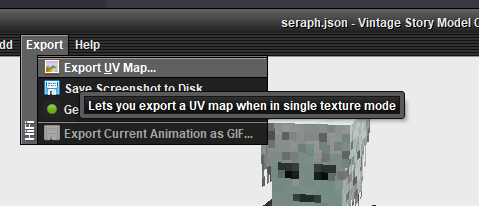
Another useful trick is exporting the UV map of your model. Once you have it unwrapped (That is, spread around your texture sheet), you can export the UV map to make a proper texture for it, or in the case of the player model - Make your own skin for it:
That should about cover the basics. One important thing to keep in mind is that one block is 16x16x16 (The size of the grid) in the editor.
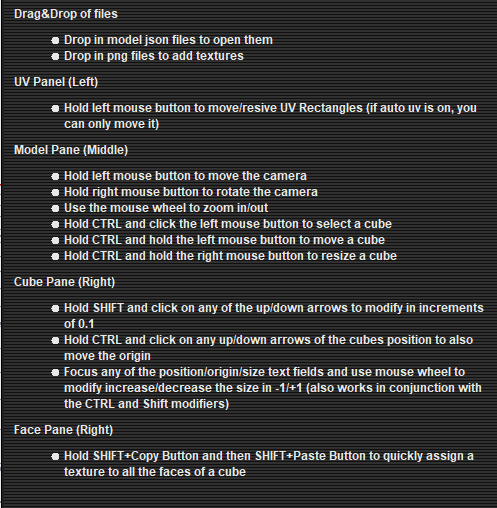
Model Editor controls, for reference - They're in the Help submenu (It really helps to memorize them!):
Once you have the hang of it, you can use Render Passes. An explanation of the different modes can be found by clicking here, but In laymans terms, they determine how a block will behave visually (Think - Glass, Ice, etc):
Texturing
Once we have our model, we can slap some textures on:
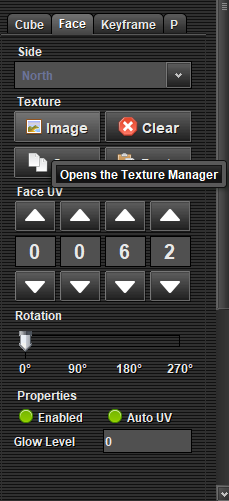
Let's look at this interface - Textures are assigned separately for each side of the model, which we need to apply manually. We can speed it up by clicking Copy and then Paste for every side. If a side is not going to be visible in game, you can deselect "Enabled", which will make that side invisible.
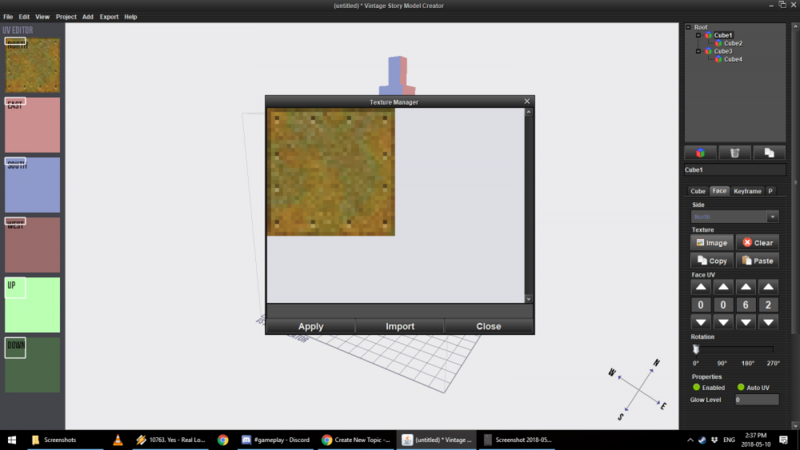
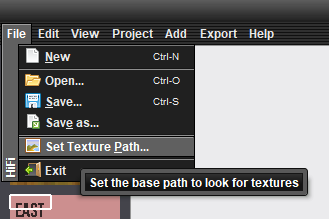
But first we need to click Image and import a texture we want to use. To make life easier, you can set the default texture path to take textures from. This is useful if you're going to use vanilla textures. Once a texture is imported - Click on it and select Apply. Please note that if your texture is outside of the game folder when Imported, you will need to tweak the model's shape (.json) file to reflect its location for the game. You will have to do this most of the time.
If we want to fine tune our UV Mapping (Aka how the texture is lined up on the model), we can use the Face UV controls to change the shape of the face. In this case, we stretch it out so that all the rivets are visible. One should also drag and move around the individual faces in the leftmost menu for best effect:
Once we're satisfied with the effect, we can save the model and use it in a mod:
