Translations:Modding:Setting up your Linux Development Environment/8/en
From Vintage Story Wiki
Creating a solution (project group)
- Open up MonoDevelop and and create a new solution with: File -> New Solution... (in the top left corner).
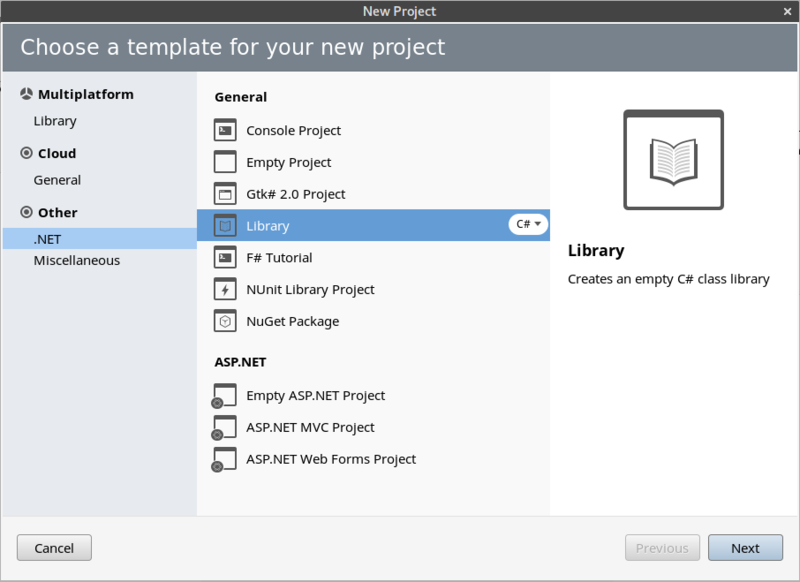
- Choose .NET -> Library as a template.
- Click Next.
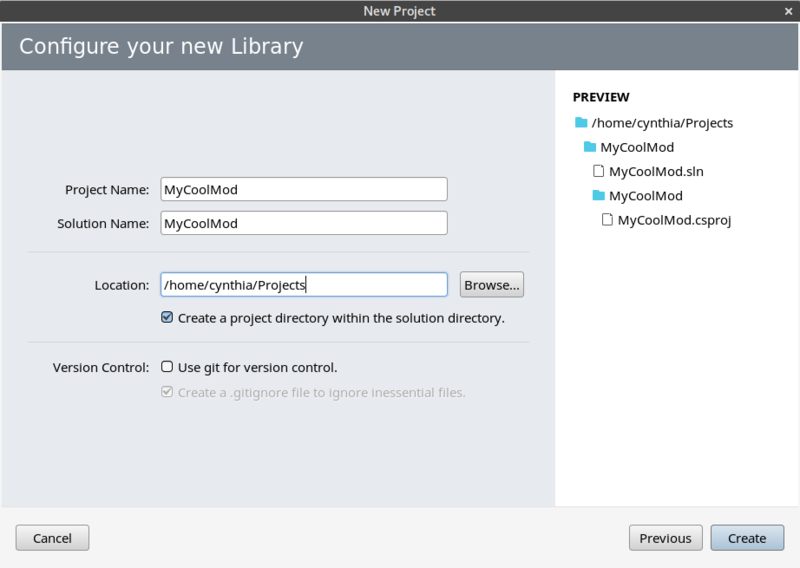
- Set your Project Name, see example below, do not change the path if you want to follow along, leave it alone.
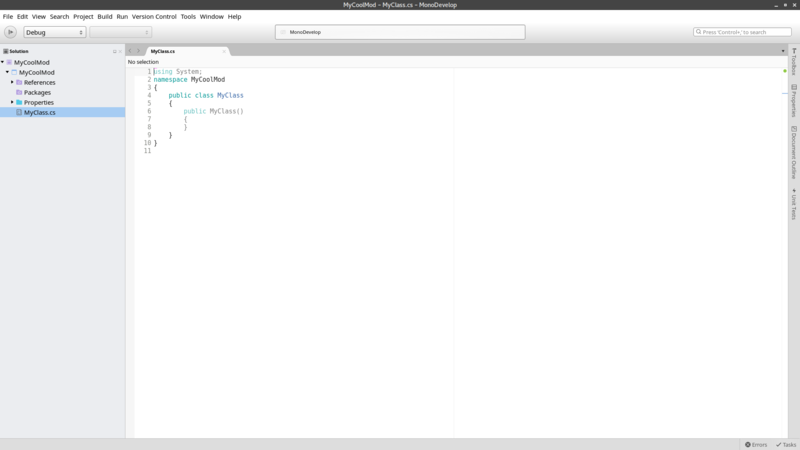
- Click Create. You should now get a screen that looks somewhat like this:
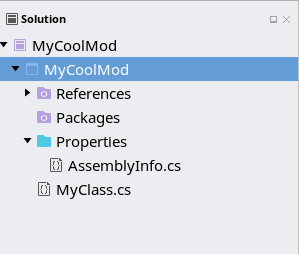
- Right click on the project (the one highlighted below) and click Options.
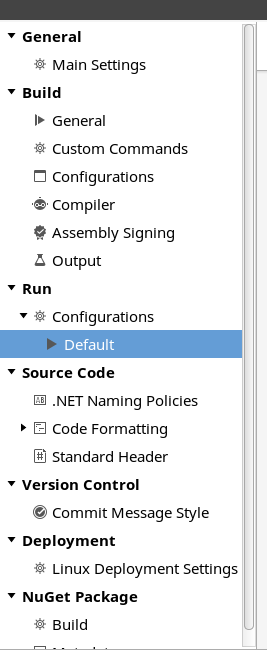
- Click on Run -> Configurations -> Default (highlighted below).
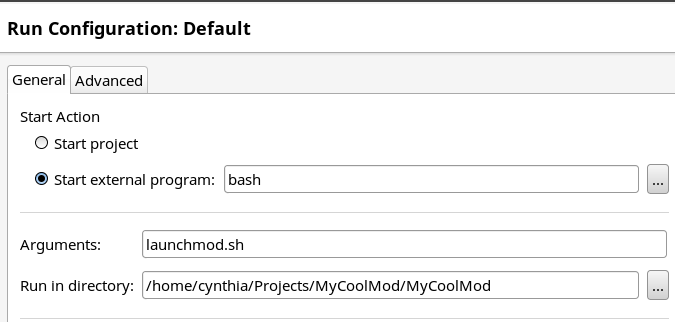
- Set the values so they look like below but replace 'cynthia' with your username and 'MyCoolMod' with the name of your project, and click on OK.
- Right click on the project again and click on Add -> New File...
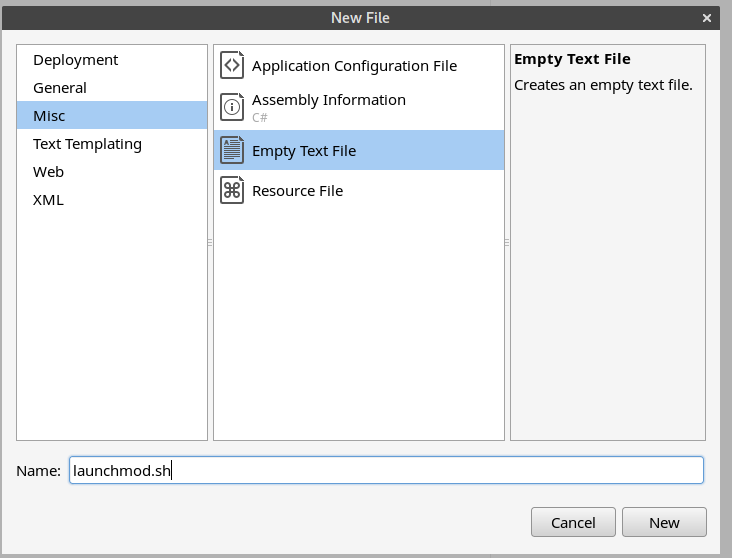
- Click on Misc -> Empty Text File and set launchmod.sh as the name, click on New.
- Paste the content from the launchmod.sh section of this page into the new launchmod.sh file and save it.
- Right click on References and click on Edit References....
- Click on the .Net Assembly tab and click on Browse....
- Navigate to your Vintage Story installation path (
/home/yourusernamehere/ApplicationData/vintagestory) and click on theVintagestoryAPI.dllfile. - Click on Open.
- Click on OK.
