Translations:Modding:Server-Client Considerations/11/en
From Vintage Story Wiki
- Before getting started, remove any mods that you've put directly in your Vintage Story program directory (such as
C:\Program Files\Vintagestory). Mods in this directory will be shared by the server and client with the setup described below.- Instead, move these mods into the data directory (on windows, that is
%appdata%/Vintagestory/Mods/by default).
- Instead, move these mods into the data directory (on windows, that is
- Set up a shortcut to the game's VintageStoryServer.exe file in your existing Vintage Story program directory. You'll use this shortcut to launch your test server. You will need to give it a custom data path using a run parameter to ensure that the server uses a different data path than the default data path. For example, on Windows your shortcut might have a target of
C:\Program Files\Vintagestory\VintagestoryServer.exe --dataPath "%appdata%/VintagestoryData_Server"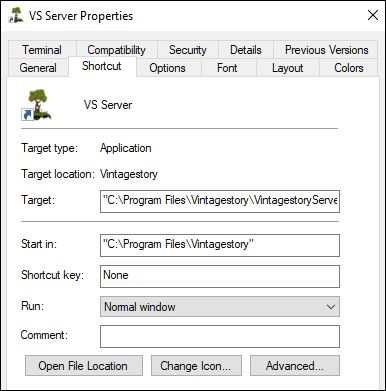
- Double-click the shortcut to launch the server.
- At this point, the server will generate new folders and content in the
--dataPathdirectory you specified. For example, you can now visit that path and add a copy of your mod to the /Mods subdirectory if you'd like the server to load your mod (after which you'd need to restart the server). The server will also output logs to the/Logssubdirectory here. - If you'd like load a copy of your mod on the client side, make sure to add your mod to the normal data path directory (on windows, that is
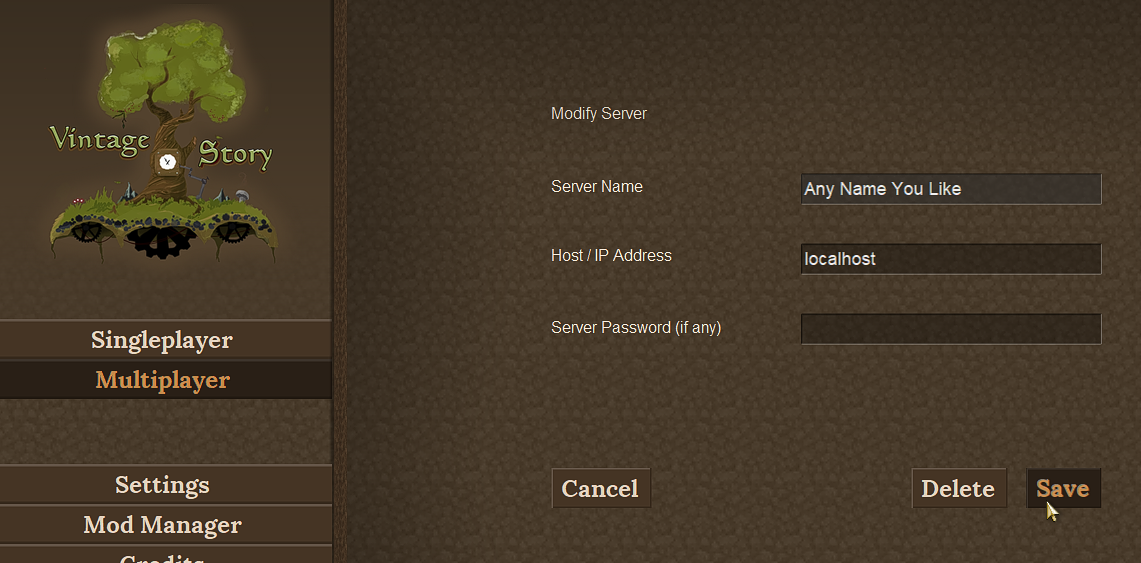
%appdata%/Vintagestory/Mods/by default). - Launch the normal game client, and select "Multiplayer" from the main menu. Add a new server and configure it with a Host / IP Address value of "localhost". Then click "Save".
- You can now select your server from the Multiplayer menu to connect! All mods, settings, and logs should be separated, and you can test whether the mod will work as expected on a multiplayer server.

