Modding:Setting up your Linux Development Environment: Difference between revisions
No edit summary |
|||
| Line 65: | Line 65: | ||
== Additional command line arguments when debugging == | == Additional command line arguments when debugging == | ||
* -oFoobar open a world named "foobar", if it doesn't exists it will create a new one | * -oFoobar open a world named "foobar", if it doesn't exists it will create a new one | ||
* - | * -pcreativebuilding new worlds are created with given playstyle ("surviveandbuild" or "creativebuilding" by default) | ||
* --rndWorld always creates a new world with an incrementing file name | * --rndWorld always creates a new world with an incrementing file name | ||
{{Navbox/modding|Vintage Story}} | {{Navbox/modding|Vintage Story}} | ||
Revision as of 06:40, 4 October 2019
This tutorial is about advanced modding. It should teach you how to setup your development environment and should introduce you into the basics of Mono Develop, this tutorial was written for Linux, if you use Windows you may want to use Visual Studio.
Install VintageStory
First of all download VintageStory and make sure you have installed the newest version of the game, otherwise errors may occur.
Install FlatPak
We will use FlatPak to install MonoDevelop so if you already have FlatPak then you can skip this step. FlatPak have their own guides for many distrobutions here.
Install MonoDevelop
Now it is time to install MonoDevelop and with FlatPak it is only one command.
Simply open up a terminal and run the following command.
flatpak install --user --from https://download.mono-project.com/repo/monodevelop.flatpakref
This might take a few minutes depending on your internet connection. (The latest version at the time of writing was around 275MB.)
To open up MonoDevelop run flatpak run com.xamarin.MonoDevelop in the terminal.
API Overview
The API interface is mostly documented, but if you feel a need for a reference documentation is is available at [1]
Example mods are available on Github: [2]
Creating a solution (project group)
- Open up MonoDevelop and and create a new solution with: File -> New Solution... (in the top left corner).
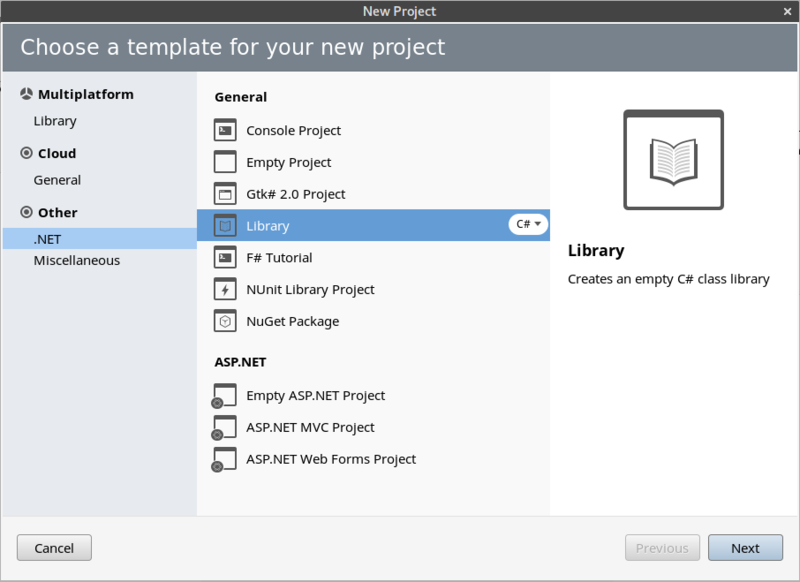
- Choose .NET -> Library as a template.
- Click Next.
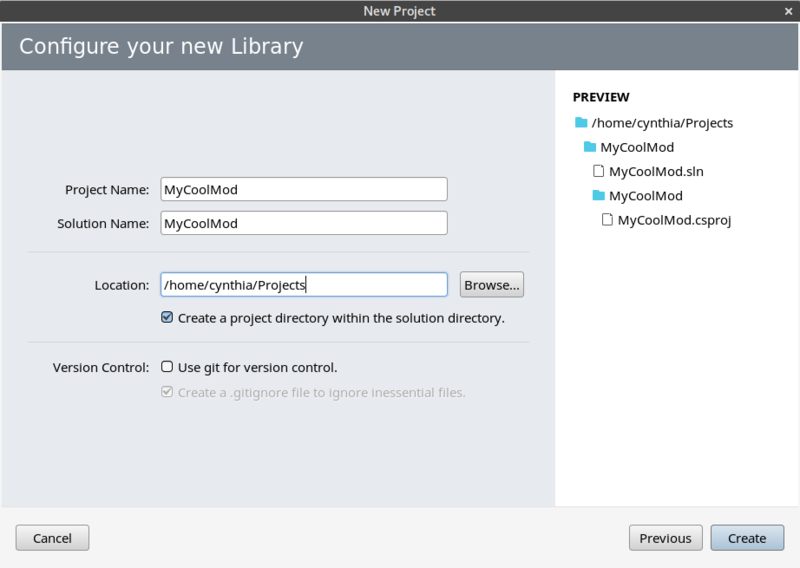
- Set your Project Name, see example below, do not change the path if you want to follow along, leave it alone.
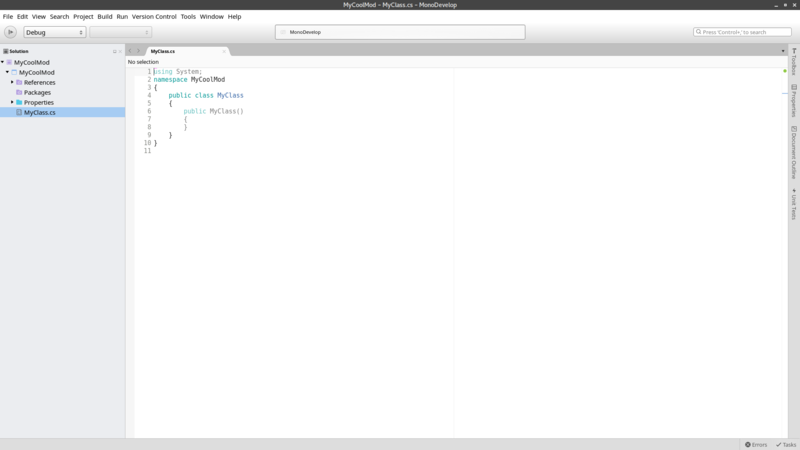
- Click Create. You should now get a screen that looks somewhat like this:
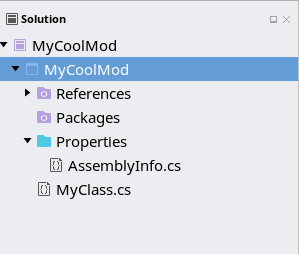
- Right click on the project (the one highlighted below) and click Options.
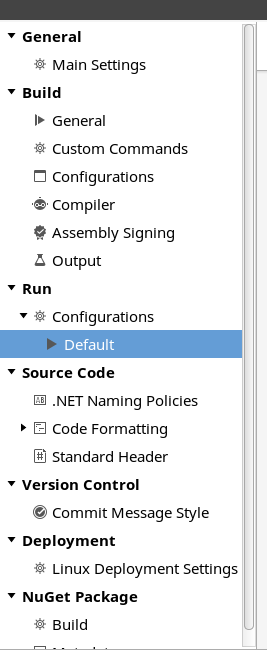
- Click on Run -> Configurations -> Default (highlighted below).
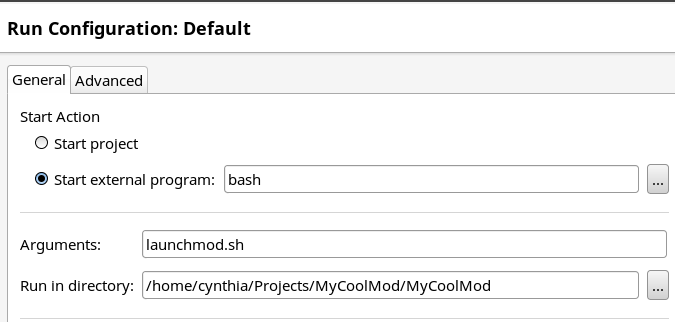
- Set the values so they look like below but replace 'cynthia' with your username and 'MyCoolMod' with the name of your project, and click on OK.
- Right click on the project again and click on Add -> New File...
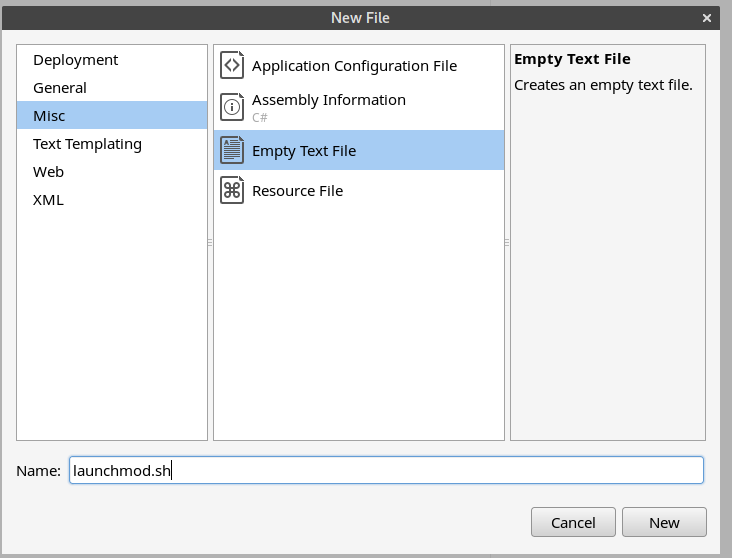
- Click on Misc -> Empty Text File and set launchmod.sh as the name, click on New.
- Paste the content from the launchmod.sh section of this page into the new launchmod.sh file and save it.
- Right click on References and click on Edit References....
- Click on the .Net Assembly tab and click on Browse....
- Navigate to your Vintage Story installation path (
/home/yourusernamehere/ApplicationData/vintagestory) and click on theVintagestoryAPI.dllfile. - Click on Open.
- Click on OK.
Testing
- Click on Run -> Start Without Debugging or press CTRL + F5.
- Vintage Story should now start.
launchmod.sh
#!/bin/bash

VINTAGE_PATH="${HOME}/ApplicationData/vintagestory/"

MOD_PATH="${VINTAGE_PATH}Mods/"

cd ${VINTAGE_PATH}

mono Vintagestory.exe -oTestworld -pcreativebuilding
Hook up logging
If you want to you can download File:RedirectLogs.cs and add it to your project, which will allow to see the log of Vintagestory in MonoDevelop. Once you have downloaded the file you can just add it to the project by right clicking on the project and clicking on Add -> Add Files... then navigating to the file and click Open then Copy the file to the directory. and OK.
Additional command line arguments when debugging
- -oFoobar open a world named "foobar", if it doesn't exists it will create a new one
- -pcreativebuilding new worlds are created with given playstyle ("surviveandbuild" or "creativebuilding" by default)
- --rndWorld always creates a new world with an incrementing file name
Wondering where some links have gone?
The modding navbox is going through some changes! Check out Navigation Box Updates for more info and help finding specific pages.
| Modding | |
|---|---|
| Modding Introduction | Getting Started • Theme Pack |
| Content Modding | Content Mods • Developing a Content Mod • Basic Tutorials • Intermediate Tutorials • Advanced Tutorials • Content Mod Concepts |
| Code Modding | Code Mods • Setting up your Development Environment |
| Property Overview | Item • Entity • Block • Block Behaviors • Block Classes • Block Entities • Block Entity Behaviors • World properties |
| Workflows & Infrastructure | Modding Efficiency Tips • Mod-engine compatibility • Mod Extensibility • VS Engine |
| Additional Resources | Community Resources • Modding API Updates • Programming Languages • List of server commands • List of client commands • Client startup parameters • Server startup parameters Example Mods • API Docs • GitHub Repository |
